When I was searching about this topic on the internet, I found some videos that shows how to do it but the ones I found was only showing how to upload documents to Shared Documents library and none of them was explaining how to do this with any library.
This method requires Office 365 Groups data connection to be able to use the Graph API to upload documents. In your existing app or after creating your app, please follow the steps below
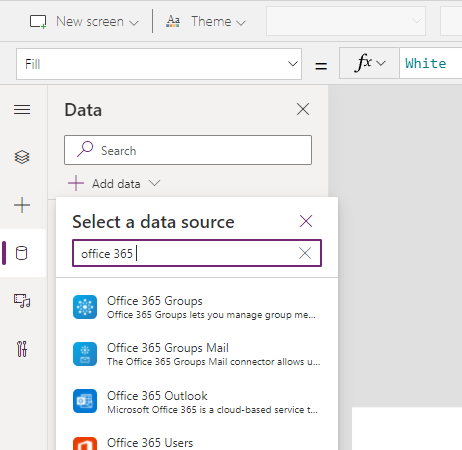
Step 1: Adding Office 365 Groups to Data
First, click on Data and than search for Office 365 Groups and add it to your application.
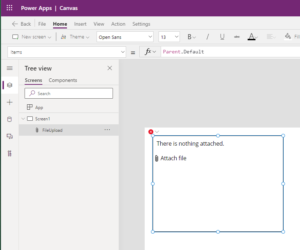
Step 2: Adding the attachment control
I added a custom SharePoint list to my application to get the attachment control. We need this control to upload documents to SharePoint library. So on your screen add a list from a SharePoint site and then copy and paste the control outside of the list form and delete the form.
Rename the control as FileUpload and then change
- BorderColor to Black
- DisplayMode to Edit
- Items leave blank
- And Tooltip to ” “
to clear the errors on Attachment control.
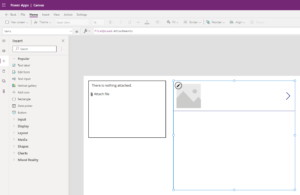
Step 3: Add a Gallery
- Add a Gallery.
- Name your gallery as UploadGallery.
- Set gallery’s Items to FileUpload.Attachments.
- Then set the Image on your gallery control to ThisItem.Value
Step 4: Add a button to Upload
a) Add a button and change text property to Upload Files. After that select the OnSelect function and paste the code below. I’ll explain the code later. You will need to replace <site id> and <library id> values in your app. See below for how to find those values.
ClearCollect(colFiles, ShowColumns(AddColumns(UploadGallery.AllItems, "ImageData", Image2.Image), "Name", "ImageData"));
ForAll(colFiles, Office365Groups.HttpRequest
      ("https://graph.microsoft.com/v1.0/sites/<site id>/drives/<library id>/root:/" & "Folder name" & "/" & ThisRecord.Name & ":/content",
       "PUT", ThisRecord.ImageData, {Name: ThisRecord.Name} ) );
Reset(FileUpload);
Clear(colFiles);
Reset(FileUpload) function will clear the items after all attachments uploaded.
Step 5: Getting IDs
a) <site id>: To get the site ID, add /_api/site/id at the end of your site URL and you will receive a response like below. Grab the site ID from the end of XML.
Example: https://yourtenant.sharepoint.com/sites/testsite/_api/site/id
<d:Id xmlns:d="http://schemas.microsoft.com/ado/2007/08/dataservices"
xmlns:m="http://schemas.microsoft.com/ado/2007/08/dataservices/metadata"
xmlns:georss="http://www.georss.org/georss" xmlns:gml="http://www.opengis.net/gml"
m:type="Edm.Guid">5492f3d5-e92a-4c92-b295-a8b7915e3697</d:Id>
b) <library id>: Go to Microsoft Graph Explorer site and sign in with your credentials.
- Use GET method and paste https://graph.microsoft.com/v1.0/sites/<site id>/drives in query text box.
- Replace <site id> with the site id from your site.
- Click on Run query.
- In Response Preview scroll down and find your custom library.
- And copy the id value for that library.
Replace these 2 values in your Upload Files control’s OnSelect function.
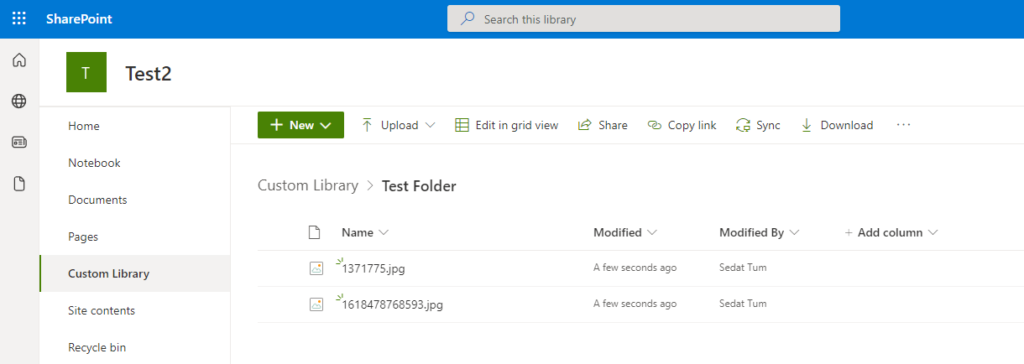
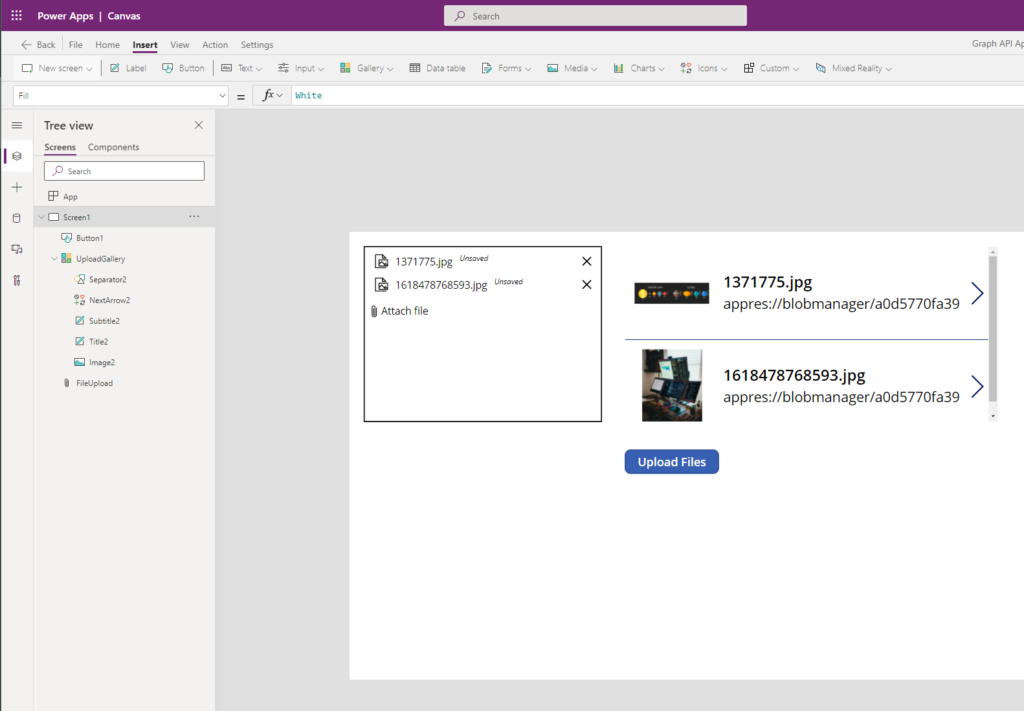
Test your upload
- Drag and drop file to attachment control or click on Attach File link to select files.
- Make sure your files are displayed on your gallery.
- Click on Upload Files and check you SharePoint site to see if your files are uploaded to your site.